(Jan-van-Leyden,-1669)")
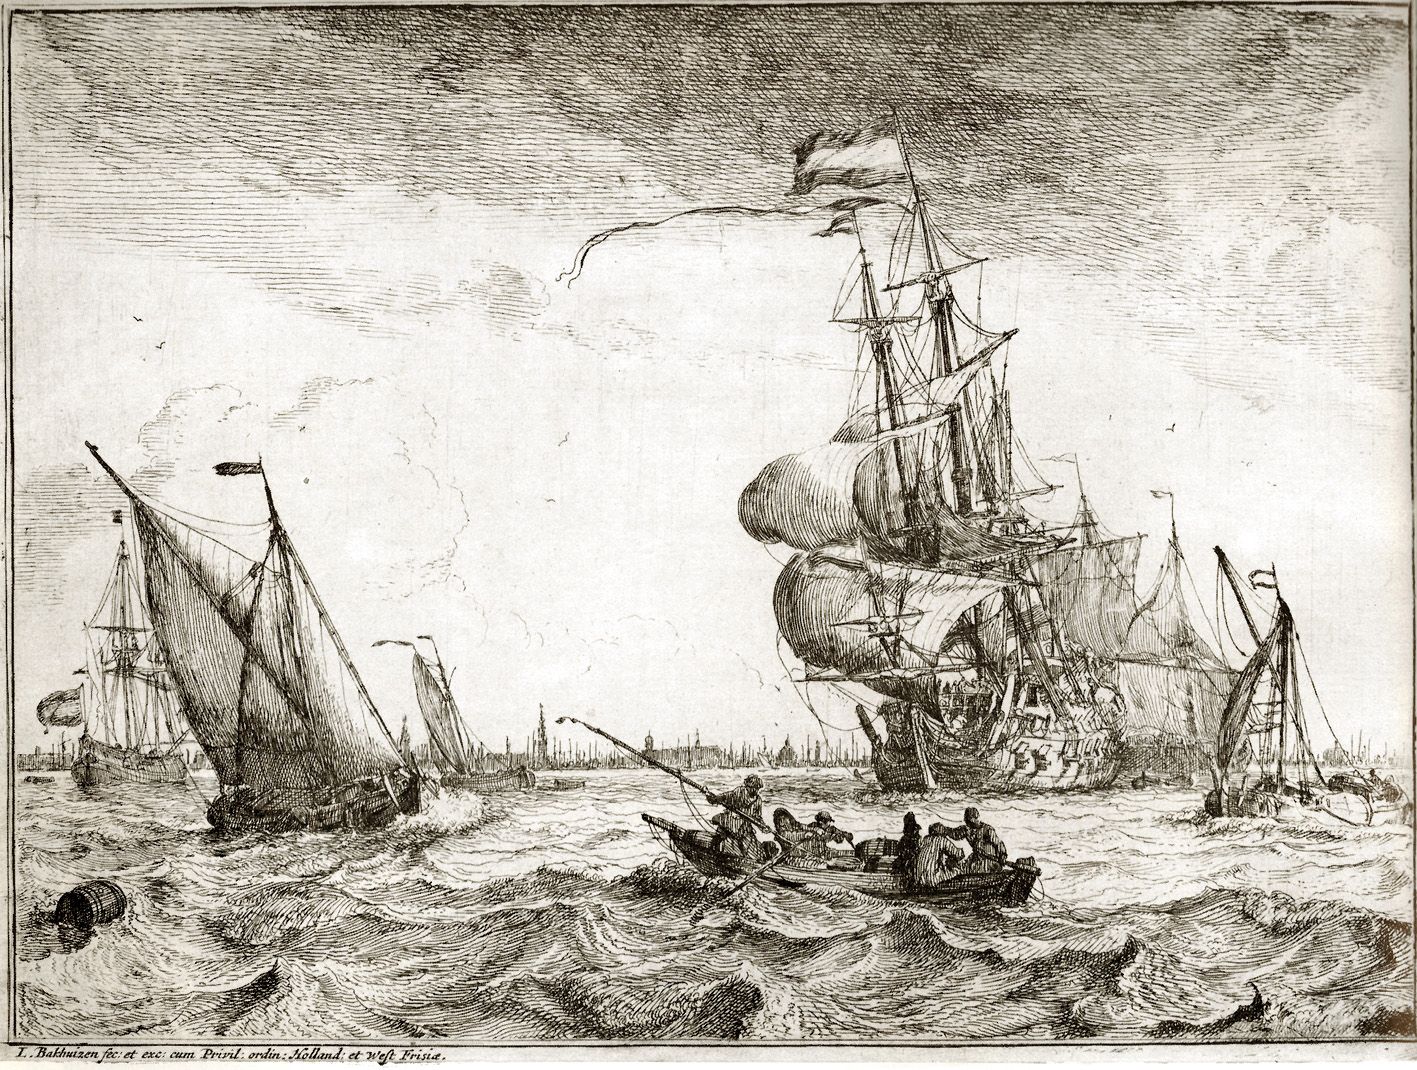
The Dutch burn English ships during the expedition to Chatham (Raid on Medway, 1667)
(De Hollanders steken Engelse schepen in brand tijdens de tocht naar Chatham 20 juni 1667)
by Jan van Leyden, 1669
Rijksmuseum Amsterdam
(image 19201104, 0.98 MB)
The Raid on Chatham is undoubtedly one of the most impressive victories in Dutch history. The success of this daring expedition is much owed to Grand Pensionary of the Republic Johan de Witt. He envisioned an attack on the British soil that would provoke a rebellion against the English king; and the planning of the operation started immediately after the great victory of the Four Days’ Battle in 1666. However, the details of the original plan were soon become known to the English and the operation was cancelled. But the later events of the Second Anglo-Dutch War, such as St. James’ Day Fight and the Holmes Bonfire (1666) were unfortunate for the Dutch and a success was desperately needed in 1667. The plan of the attack was revived and Cornelis de Witt, brother of the Grand Pesionary, was assigned to the fleet as a government delegate. In June 1667 the Dutch fleet commanded by De Ruyter, but effectively guided by Cornelis de Witt entered the Thames.
The first Dutch ships commanded by Willem van Ghent appeared at the mouth of the Thames on June 17. At that moment Dutch intensions were unclear to the English, who were more concerned of an attack on London. But the Dutch primary target were English ships anchored upstream the Medway river. The attack began with an assault on the Sheerness Castle protecting the mouth of the Medway. After a bombardment delivered by the Vreede the garrison fled, and a Dutch landing party captured the unfinished fort. The Dutch marines were strictly forbidden to plunder to shame the Holmes’ outrages on Teschelling. Despite the orders Dutch seamen plundered anyway, and their commander Jan van Brakel was relieved of his command.
Once the fort was captured the Dutch reconnoitered the way upstream and discovered that English had sunk seven ships across the river to block the passage. A small opening was found in the barrier and after some of the sunken ships had been dragged away, the Dutch frigates passed on the rising tide.
Another obstacle was a formidable chain stretched across the river one mile further on near Gillingham. It was protected by artillery positions on the river banks and warships anchored in front of it. The Dutch attacked the chain on the morning of June 22. One of the protecting warships, the Unity (ex Dutch Eendracht) was bordered and captured by Jan van Brakel who was anxious to redeem himself. The Dutch fire ships attacked the English Matthias and Carolus V, which both caught fire and blew up. Later the mighty Royal Charles was taken after putting little resistance. This ship, originally Naseby 80-gun First Rate, renamed Royal Charles after the Restoration, had served as flagship for such famous admirals as Blake, Monck and Duke of York. Its capture was the ultimate humiliation for the English fleet.
The tide began to fall and the Dutch could not proceed any further that day. Still there were three more ships up the river, Royal James, Loyal London and Royal Oak. The English realized that the only way to prevent their capture was to sink them and so they were scuttled. Next day De Ruyter took command of the attack personally. The sunken ships were reached by the fire ships and set on fire.
“The destruction of these three stately and glorious ships of ours was the most dismal spectacle my eyes ever beheld,”
wrote Edward Gregory, Clerk of the Cheque of Chatham Dockyard.
The next day the Dutch finally withdrew. The tide was falling and the ships regularly ran aground. Royal Charles and Unity were taken along as prizes. Despite the obvious success not all objectives were accomplished. For one, Johan de Witt was not satisfied pointing out that the actions of the fleet were insufficiently aggressive and not accepting arguments of shallow water and adverse wind. Chatham Dockyard was not burnt and had it been destroyed it would have taken a generation to rebuild. Furthermore the political aim was not reached as well. Despite disastrous events such as plague, the Great Fire of London 1666 and then the raid itself, no rebellion ensued.
There are many painting depicting the events of the Raid on Chatham. The impressive work of Jan van Leyden painted in 1667 – 1669 shows the attack of June 20th with Dutch troops storming the Sheerness Castle and burning English ships.
The storming of Sheerness Castle is depicted in detail in this engraving by Willem Schellinks.

Chatham Expedition and the Capture of the Sheppey Island, 1667
(Tocht naar Chatham en de verovering van het eiland Sheppey, 1667)
by Willem Schellinks
Rijksmuseum Amsterdam
(image 12801015 px, 589 KB)
The panoramic painting by Willem Schellinks displays the further events of the Raid. In the middle of the painting one can see scuttled English ships with their masts protruding above water. The Dutch vanguard is already past the obstacle and three more English ships are on fire before Upnor Castle.

The burning of the English fleet near Chatham, June 1667, during the second Anglo-Dutch war
By Willem Schellinks
Rijksmuseum Amsterdam
(image 1280853 px, 401 KB)
The moment of triumph, the capture of the Royal James is shown on this work by Peter van den Velde. The unrigged Royal Charles in the center still bearing the Flag of the Red but a Dutch tricolor is already hoisted on the masthead. The burning fire ships are shown grappled with the Matthias and the Carolus V already in flames.
")
The Dutch burn down the English fleet before Chatham June 20 1667
(Het verbranden van de Engelse vloot voor Chatham)
By Peter van de Velde
Rijksmuseum Amsterdam
(image 19741294 px, 2.26MB)
The captured Royal Charles was escorted to the Netherlands by Jan van Brakel. Its arrival at the Goereese Gat is painted by Jeronimus van Diest for Cornelis de Witt. On the poop the Dutch tricolor is flying while the English red flag is hoisted upside down in humiliation.
 - Het opbrengen van het Engelse admiraalschip de 'Royal Charles'")
Arrival of the English Flagship Royal Charles
(Het opbrengen van het Engelse admiraalschip de Royal Charles)
By Jeronymus van Diest (II)
Rijksmuseum Amsterdam
(image 19551284 px, 2.38 MB)
Finally, a painting by workshop of Jan de Baen honours Cornelis de Witt posing as triumphant with the bird’s-eye view of the Medway River dotted with Dutch ships and burning English vessels. This is a replica of the original paining which was destroyed by an angry mob in 1672, the year of Dutch disasters, blamed largely on de Witt brothers, who then were also killed by their angry compatriots.

The Glorification of Cornelis de Witt, with the Raid on Chatham in the Background, from the workshop of Jan de Baen, replica of the original 1667 painting
Rijksmuseum Amsterdam
(image 1132960 px, 1.33MB)